How to Share Only Specific Parts of Your Notion Databases: 6 Effective Solutions
Notion doesn’t offer a built-in solution to share only parts of a database. For businesses, this lack of granular permissions is problematic to share data with their users. However, with these straightforward workarounds, they can selectively share specific database items with their intended audience.
Notion is a popular tool that many people use for taking notes and organizing their work. But Notion is much more than just a note-taking app. It's a powerful workspace where you can manage tasks, projects, and databases all in one place.
Databases in Notion are collections of pages that help you keep everything organized. Think of them as filing cabinets or notebooks where you store different types of information.
However, Notion has a limitation: it doesn't have a built-in way to set detailed permissions for databases. This means you can't easily control who can see or edit specific parts of your database.
This article will show you how to work around this limitation. We'll go through all the possible solutions you can use right now since Notion hasn't provided a perfect fix yet. Whether you're working with a team, sharing projects with clients, or just organizing your personal information, these tips will help you manage permissions in Notion effectively.
Granular database permissions allow you to control who can see or edit specific parts of your database. In simple terms, it means setting permissions at a very detailed level. For example, you might want some people to see only certain rows and columns in your database.
Why Is It Needed?
This feature has been requested numerous times by many users in the community. By incorporating granular database permissions, Notion could significantly enhance its usability, especially for users managing sensitive or confidential information.
Granular permissions are important because they give you more control over your data. Without them, you can't limit access to specific information, which can be a problem in many situations.
For example, imagine you have a Projects database with information about different clients. You might want each client to see only their projects and only certain details, like the status and deadline. However, Notion currently needs to support this level of detail in permissions. You can only share the entire database or nothing at all, which isn't ideal for sensitive or confidential information.
Here are a few scenarios where granular permissions would be useful:
Client Projects: If you have multiple clients, you might want each client to see only their projects. With granular permissions, you could share specific rows with each client.
Team Tasks: In a team setting, you might want certain members to see only tasks assigned to them and not the whole project plan.
Personal Organization: Even for personal use, you might want to share a part of your database with a friend or family member without giving them access to everything.
What Are Other Users Saying?
Many Notion users have expressed their frustration with the lack of granular permissions. Notion has a large user base, and the absence of this much-needed feature has left many users feeling irritated. This capability could greatly improve workflow efficiency. Here's a look at what people are saying on Reddit:
Current Capabilities & Limitations
Page-Related Sharing Options
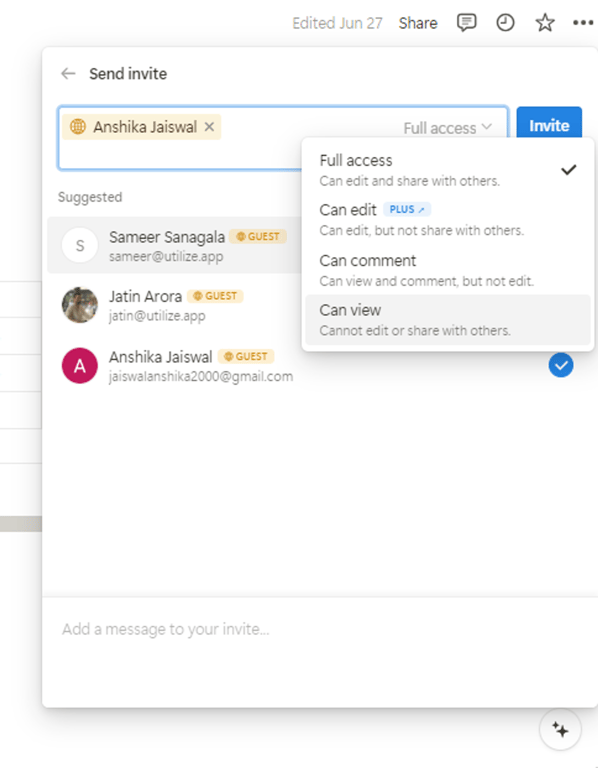
In Notion, you can adjust permissions for individuals or groups, whether they are members or guests of the workspace. This ensures that everyone with access to a page has the appropriate level of access.
In the sharing menu, click the dropdown next to a name or a group to see the following options: Full Access, Can Edit, Can Comment, or View-Only. You can also click Remove to revoke someone's access to the page, making it no longer visible to them.
Full Access: Users with full access can make any changes to the page, including editing content, adding comments, and changing permissions.
Can Edit: Users can edit the content but cannot change permissions or invite new users.
Can Edit Content: Users can only edit the content of the page. They cannot make structural changes or manage sharing settings.
Can Comment: Users can only add comments to the page but cannot edit the content or make any structural changes.
View-Only: Users can view the page but cannot make any changes or add comments.
While these options are useful for controlling access to individual pages, they do not provide a solution for database permissions. You can't control who sees specific rows or columns within a database using these settings.
Database-Related Sharing Options
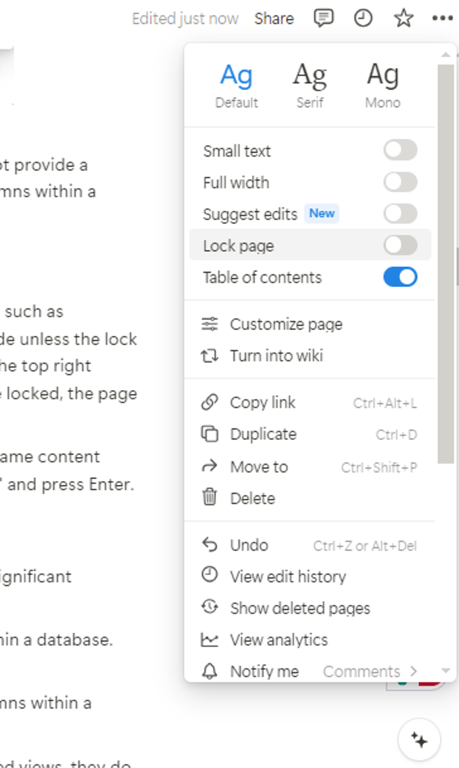
Page Locking: You can lock pages in Notion that contain non-database content such as documents, notes, and wikis. This feature prevents any changes from being made unless the lock is explicitly turned off, including by you. To lock a page, click on the ••• icon at the top right corner of your page, then select "Lock page" from the menu that appears. Once locked, the page becomes immediately read-only for all users.
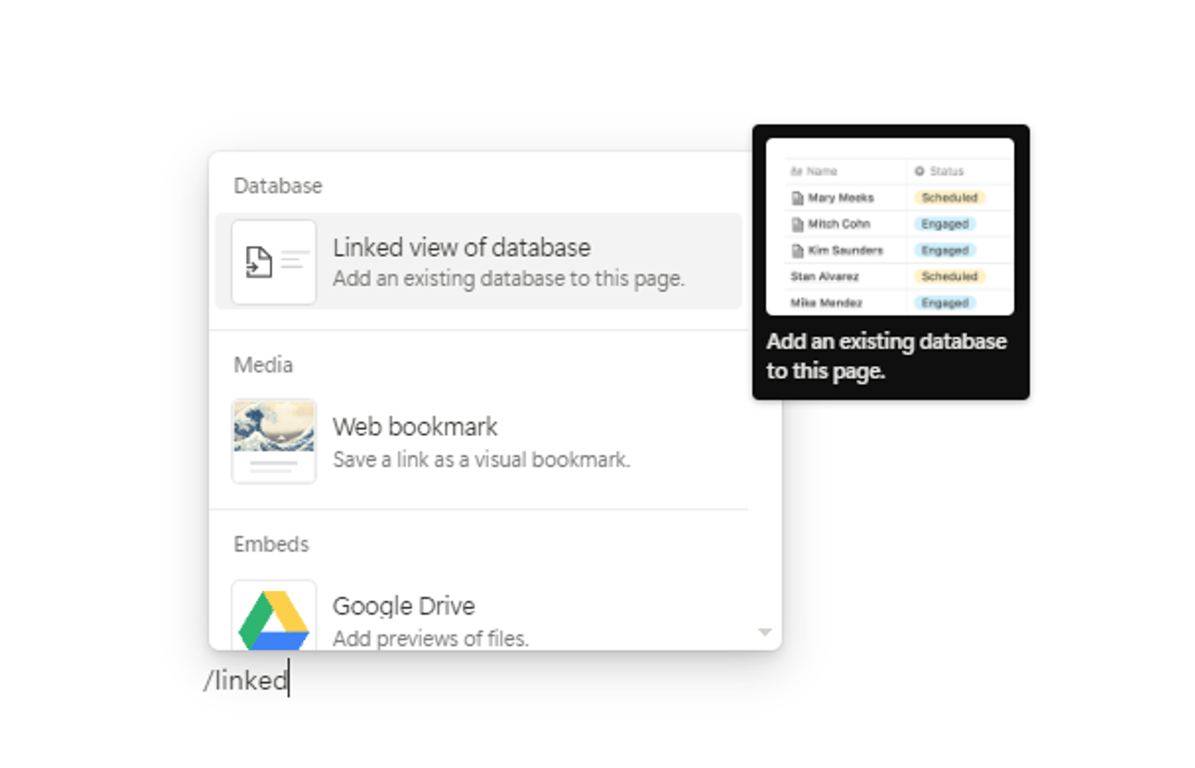
Linked Databases: Linked databases in Notion allow you to sync copies of the same content across different pages. To add a linked database to a page, simply type "/linked" and press Enter.
Limitations
While Notion provides various sharing options for pages and databases, there are significant limitations:
Lack of Row-Level Permissions: You cannot restrict access to specific rows within a database. This means you can't share only certain entries with specific users.
Lack of Column-Level Permissions: You cannot restrict access to specific columns within a database. This means you can't hide certain properties from specific users.
Limited Control Over Linked Databases: While linked databases allow for filtered views, they do not provide true granular control. The changes you make in a linked database reflect in the original, but filters and views only apply to the linked instance. Users may still access more data than intended.
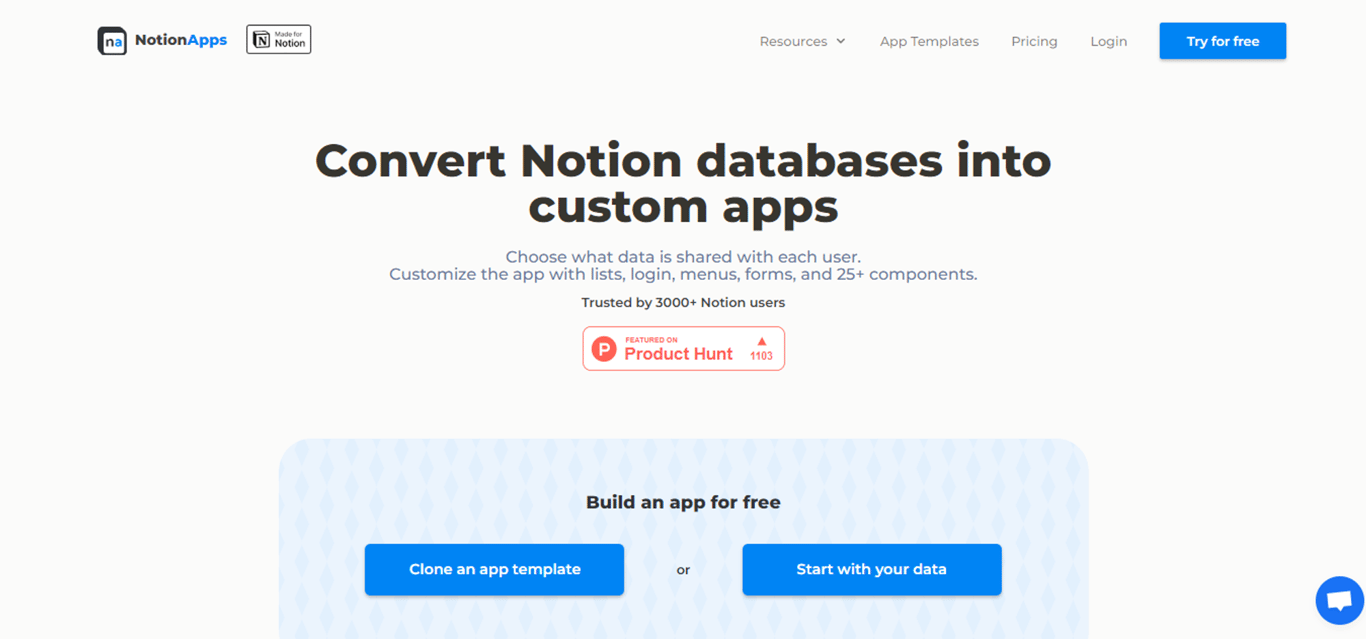
Workaround 1: Using NotionApps
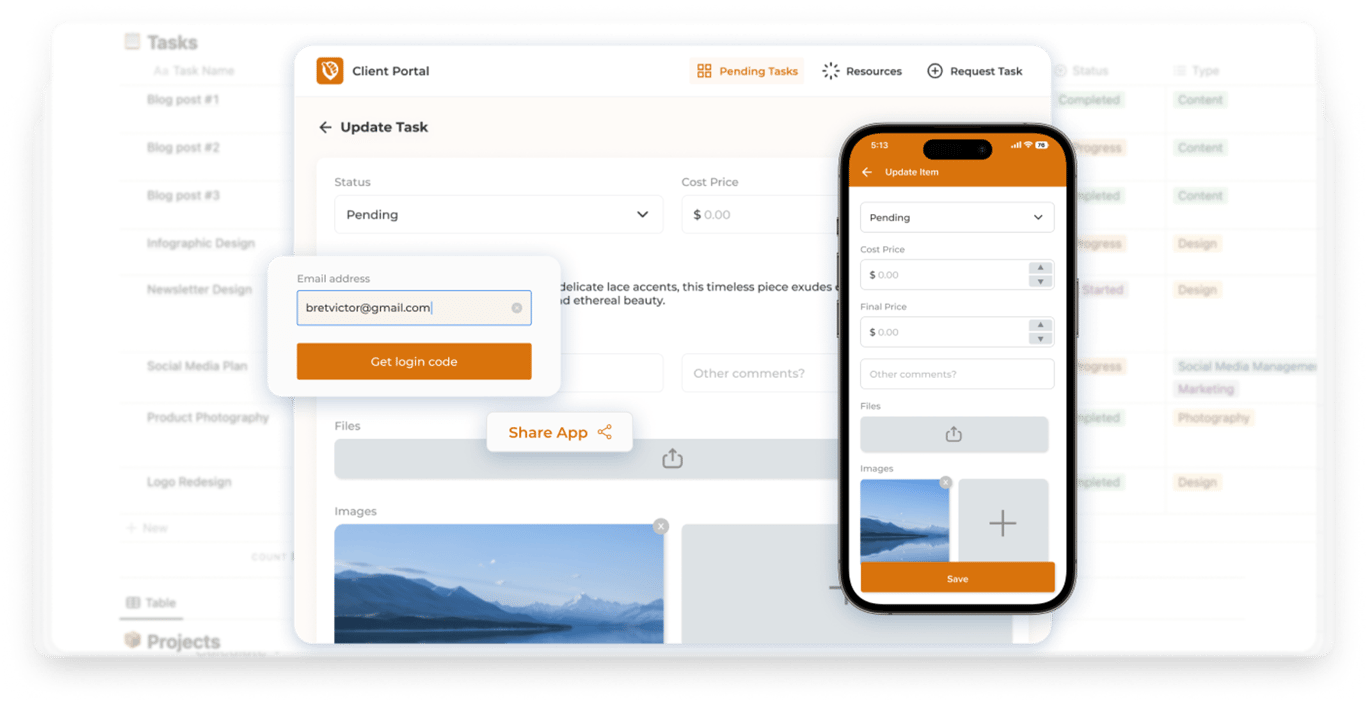
NotionApps is a tool that allows you to build custom apps from your Notion databases with row-level data restrictions in under a few minutes.
NotionApps lets you publish both private and public apps. For use cases like client portals, field operations, student portals, and employee directories, we recommend creating private apps. For use cases like catalogs and portfolios, you can make your app public.
By default, apps are public, meaning they are accessible to anyone with the link. To restrict access, you need to enable login by setting up a 'Users' database. This database stores user details such as email addresses and usernames, allowing you to control who can log in and what data they can access.
For example, in a Client Portal, users are stored in a 'Clients' database. This setup enables you to add, modify, and remove users within the database. Only users whose email addresses are registered in this database can access the app. For detailed information on creating a Users database, refer to this documentation.
To enable login follow this guide. Once you Publish your application then all the email addresses in the Users database can log into the app.
Data Restriction
For now, we talked about who can access the app but you can also manage row-level database restrictions to ensure users only see data assigned to them. This feature is essential for private apps, where each client should access only their specific data.
Once your app is private, please follow these steps for data restriction:
Go to the "Users" tab in the left sidebar of your app builder.
Under the "Data Restriction" section, click on "Add Restriction" next to the database whose data you want to limit.
In the "Add Restriction" popup, select the "Restriction Method" from either a "Select Relation to Users Database" (a relation linked to your Users' database) or "Select Property with Email Address".
Select the property based on whose data you'd like to match with the logged-in user. It's preferred to filter data using the "Select Relation to Users Database" restriction method.
Click on "Confirm"
Publish the app
Now when a user logs in to the app, they will see only those pages/items of the database where their Email ID is present OR their data is linked in the user relation property.
Workaround 2: Using Page Sharing Options
This workaround leverages Notion's existing sharing options to manage database permissions more effectively. By carefully adjusting permissions for each page, you can control who has access to specific content. Here’s how you can do it:
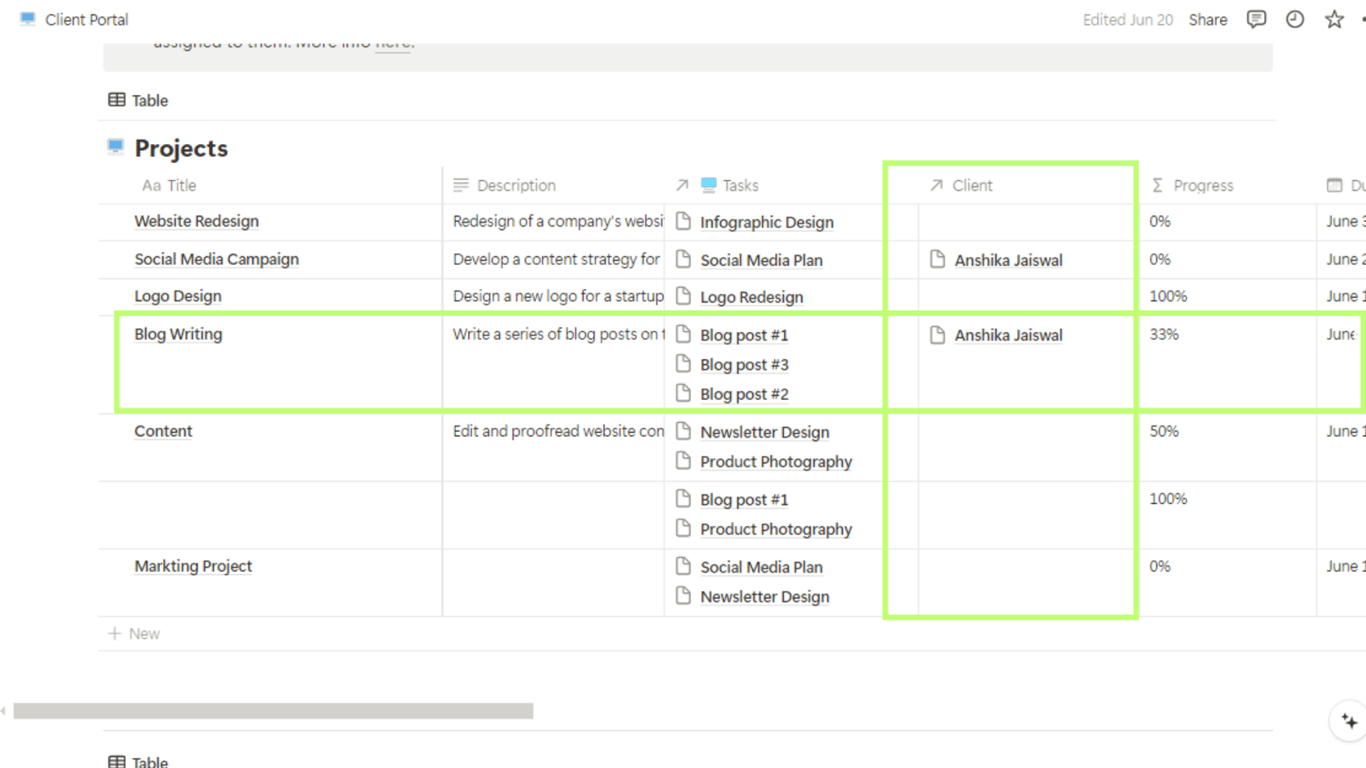
Share Master Database:
Share the master database with the guest, granting them "Can View" access.
This ensures that all child records in the master database inherit this permission for the guest.
Adjust Child Record Permissions:
Go through all the records in the master database.
For content, you want to hide from the guest, remove the user from the permissions list.
For content the guest needs to edit, update the child record’s permission to "Can Edit."
Update Permissions for New Content:
For any new content added to the master database, repeat the steps above to set the appropriate permissions.
Adding More Guests:
If you want to add another guest, repeat the initial step to set their permissions.
By following these steps, you can ensure that guests have the correct level of access to specific content in your database.
Limitations
While this method can help manage permissions, it has its limitations:
Manual Process: Setting permissions for each child record is time-consuming and requires manual effort.
Not Fully Granular: This approach does not offer true row-level or column-level permissions within a single database.
Maintenance: Every time new content is added, you must manually adjust permissions, which can be cumbersome for large databases.
From this workaround, we can see that Notion's backend design can already handle such workflows. They just need to update their UI to allow users to disable the auto-inheriting of rights for some users, simplifying the process and making it more efficient.
This workaround involves using locking features and advanced filters to control database access more effectively. Here’s how you can implement it:
Set Permissions on Main Database:
On the main page of the database, give members "Can Edit Content" access.
Ensure you have an advanced filter set to “me” and lock the database. This way, if a person can access the database through breadcrumbs, they still won’t see anything else.
Apply this filter in all other views.
Linked Views in Personal Workspace:
Use a linked view of the database in your personal workspace. From there, you can remove the filter since members don’t have access to that page.
Set Up Member Workspaces:
In the member’s workspace, create a linked view of the database and replace your "Who" filter with an advanced filter.
Lock these views just as you did in the main database.
Set Viewing Permissions for Members:
Set the page access in the member's workspace to "Can View." This prevents members from unlocking the views and accessing the advanced filter to remove it.
Enable Task Modification:
Create a button that adds a page in the database with a “Who” property set to “Person who clicked button.” This allows members to add new tasks.
Members can modify tasks or properties by opening the page and editing it from there.
Limitations
This method has several limitations:
Manual Setup: Setting up advanced filters and locking views manually for each user can be time-consuming.
Potential Security Breach: Members with edit access can create a linked view of the database, which appears unlocked by default. They can then remove the advanced filter and access everything. Repeating the actions for every page adds significant work.
Not Practical for Multiple Roles: This approach may not work well if multiple roles require different team access. While you can lock the database and remove old roles and candidates from the view, ensuring new views with just the current roles are visible to the team with 'edit content' access, it's not a scalable solution for multiple roles.
This workaround can be effective for smaller databases or when you have a manageable number of roles and entries. However, for larger databases or more complex permission requirements, it may not be practical.
Workaround 4: Build it yourself using Notion APIs and Make
This approach, shared by Matthias Frank, provides a detailed guide on how to use the Notion API and MAKE to create custom views and sync data between databases. You can find the full guide here.
Set Up Automation with Make:
Create Private and Public Databases: Start by creating two databases in Notion – one private (master) and one public (shared).
Configure Make (formerly Integromat): Log into Make and create a new scenario. Authorize Make to access your Notion workspace, ensuring the relevant pages are shared with the automation tool.
Syncing Data Between Databases:
Watch Database Items: In Make, set up a module to watch for changes in the private database. This ensures any updates are reflected in the public database.
Filter and Push Data: Use filters in Make to determine which entries to push based on specific conditions (e.g., a checkbox indicating sync status).
Updating Database Entries:
Handle Deletions and Updates: Configure the automation to delete entries from the public database if they are unsynced in the private database.
Two-Way Sync: Enable two-way sync so changes in the public database (e.g., status updates by employees) are reflected back in the private database.
Although this approach using the Notion API with Make offers a flexible workaround for creating custom database views in Notion, it is somewhat time-consuming like the others. Moreover setting up an API can be challenging if you are not very familiar with tech.
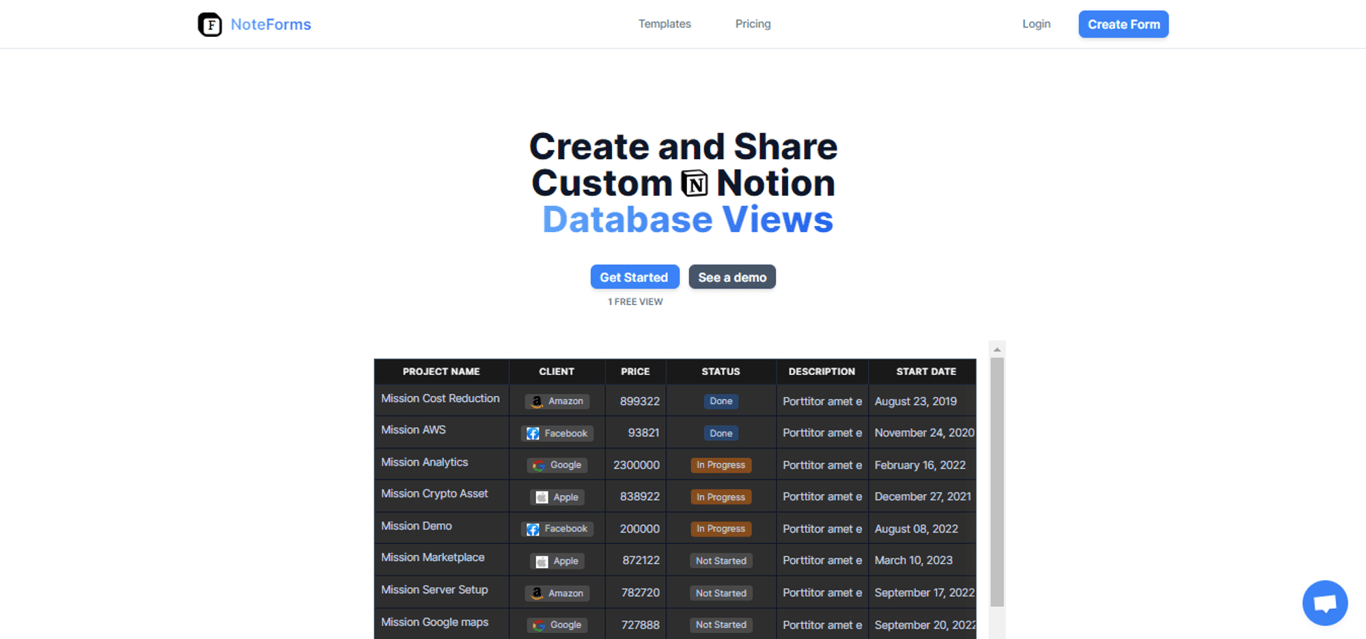
Workaround 5: Using NoteForms’ Database Views
NoteForms allows you to share only the parts of your database you need, making it a perfect solution when Notion’s permissions aren't sufficient. This approach eliminates the need to duplicate Notion databases multiple times for each customer or client. Here's how you can get started:
Register and Connect:
Sign up on NoteForms and connect your Notion workspace with NoteForms.
Create and Customize Database Views:
Create a database in Notion and add as many columns as you need.
In NoteForms, create a view by selecting the database, filtering out irrelevant rows, and customizing the table and columns. You can hide columns containing private information, apply filters to share only relevant data and sort your data by any column in any order.
Customize the appearance by changing colors, and fonts, and even injecting custom code.
Protect and Share:
Protect your database views with a password to ensure data safety.
Share your NoteForms database views by embedding them within your Notion pages or on external websites.
NoteForms offers one free view, with paid monthly plans starting from $20.
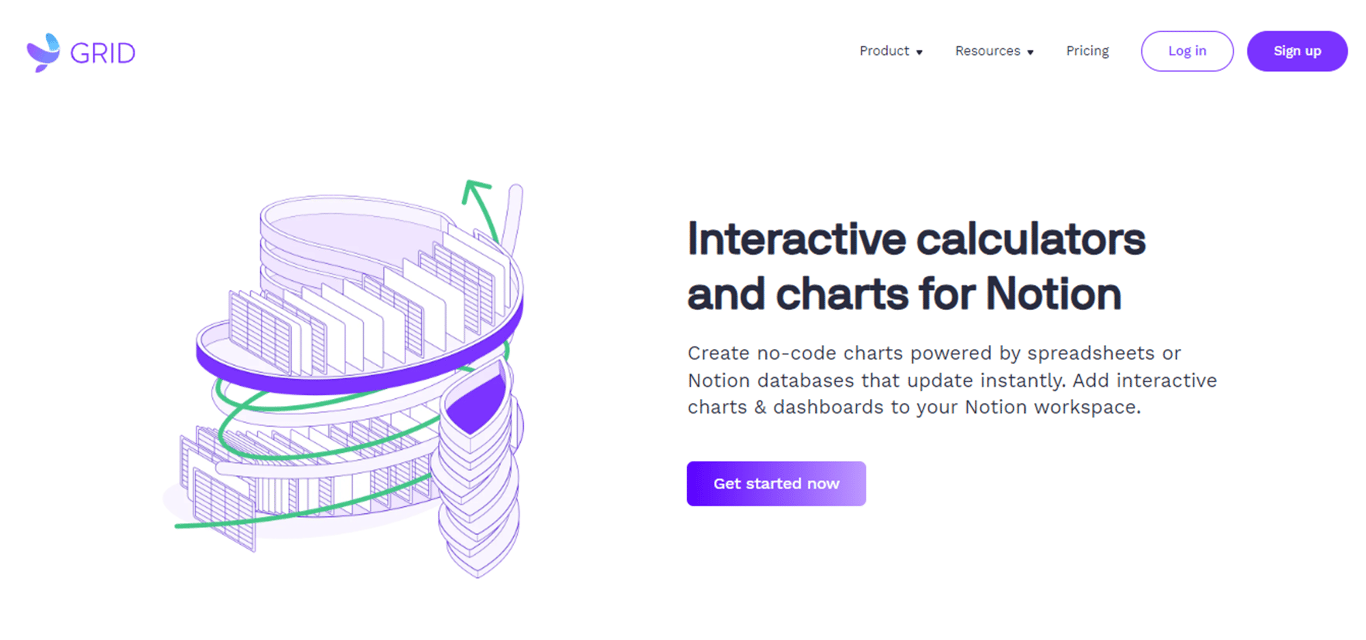
Workaround 6: Using Grid
With GRID, you can build interactive and dynamic charts and embed them into your Notion page using the GRID Link Preview integration for Notion.
Grid provides a workaround for Notion’s limitations with database views, allowing you to share specific data with different customers without revealing other sensitive information. This section will show you how to use Grid to create customized views and charts for your Notion databases.
For instance, you have a database with records for multiple clients, and you need to share only the relevant records with each client without revealing others' data. Here’s how to achieve this with Grid.
Setup in Notion: Ensure your database includes necessary fields like name, client (dropdown), amount, dates, and status.
Connect Grid with Notion: Register with Grid and connect your Notion account. Select your database to sync data between Notion and Grid.
Create Custom Views in Grid:
Charts: Create a new sheet in Grid and set up the required columns. Use formulas to calculate totals or other metrics as needed. For example, use SUMIFS to calculate monthly totals.
Tables: Use the QUERY function to filter and display the relevant columns for a specific user or purpose. This ensures you show only the necessary data.
Embed Views in Notion: Once your views are ready in Grid, use the embed feature to create unique links for each user or purpose. Embed these views into the appropriate Notion pages.
Customize Appearance: Adjust colors, labels, and formatting in Grid to make your charts and tables visually appealing.
Conclusion
Mastering database views in Notion can significantly enhance how users manage and share data. While Notion currently lacks granular database permissions, the workarounds discussed in this guide—Notion databases, using page sharing, advanced filtering, NotionForms, Grid, and the Notion API—provide practical solutions to tailor data sharing needs. Each method has its strengths and limitations, catering to different levels of technical proficiency and specific requirements.
The most preferred workarounds are using NotionApps, Noteforms, and the Notion API. Other workarounds fail in some way or another. This missing feature is the single most significant reason why many businesses opt not to go with Notion when they are looking for productivity tools for their companies.
By leveraging these strategies, users can create more efficient, customized views and ensure that sensitive information is only accessible to the appropriate audience. Whether a casual user or a power user, these techniques can help unlock the full potential of Notion's powerful database features, making workflows smoother and more productive.
Discover everything you need to know about using Notion offline in this comprehensive guide. Learn the steps to access Notion without an internet connection, the technical limitations of offline mode, and some tips & workarounds to using Notion offline.
Notion tables don’t support traditional cell merging, but that doesn’t mean you’re out of options. Explore clever workarounds like using toggles, dividers, and multi-column layouts to simulate merged cells. This blog covers practical tips and workarounds for organizing your Notion tables without the need for cell merging, helping you design more dynamic layouts.
Notion makes it easy to link and manage databases. This guide explores combining databases with features like Relations, Rollups, Linked Databases, etc. Whether you’re managing tasks, projects, or CRMs, learn practical strategies to organize data efficiently.